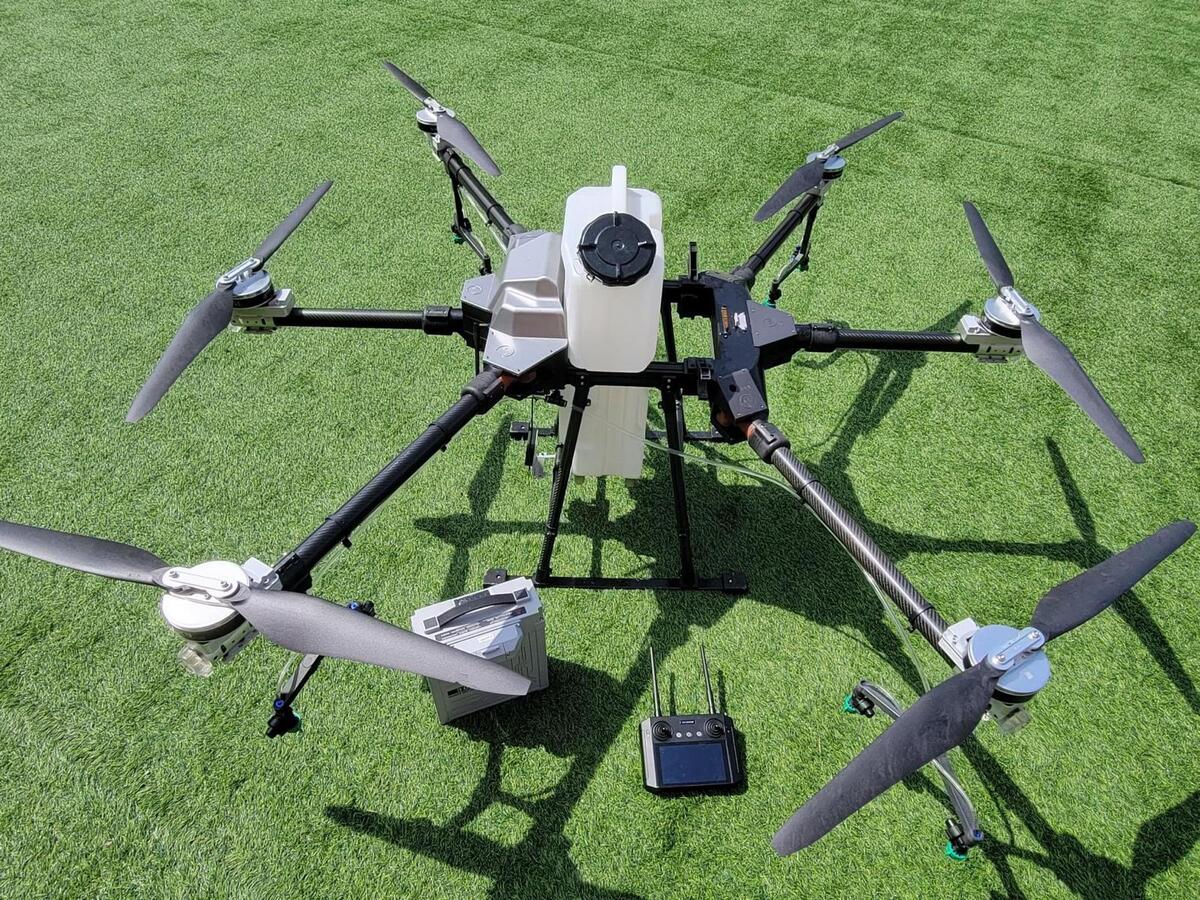
Agricultural spraying drones have become an indispensable tool in modern farming, offering precision in pesticide and fertilizer application. If you’re looking to assemble a spraying drone, understanding the key components and the assembly process is crucial. This guide will walk you through the essential parts required and the steps to assemble your drone.
Essential Components for an Agricultural Spraying Drone
- Frame
The frame is the backbone of your drone, supporting all other components. It is typically made from lightweight and durable materials such as carbon fiber. The frame should be large enough to carry the spraying system and provide stability during flight. - Motors
High-efficiency brushless motors are required to lift and maneuver the drone. The size and power of the motors depend on the drone’s weight and the payload capacity. Typically, an agricultural drone will have four to eight motors. - Propellers
Propellers work with the motors to provide lift and thrust. The size and pitch of the propellers should match the motor specifications to ensure optimal performance. - Electronic Speed Controllers (ESCs)
ESCs regulate the power to the motors, ensuring smooth and responsive control. Each motor requires its own ESC, which should be compatible with the motor’s specifications. - Flight Controller
The flight controller is the drone’s brain, responsible for stabilizing the aircraft and managing inputs from the pilot. Advanced controllers offer GPS capabilities and automated flight modes, essential for precision agriculture. - GPS Module
A GPS module allows the drone to navigate autonomously and maintain its position. This is crucial for creating accurate flight paths and ensuring even application of sprays. - Spraying System
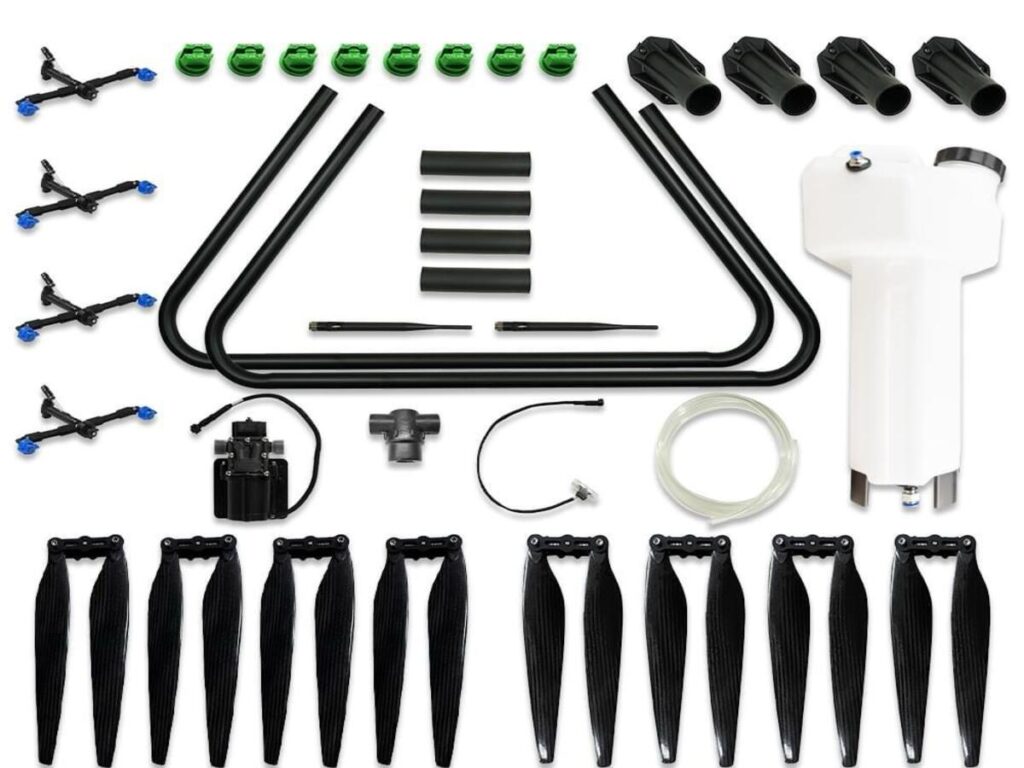
The spraying system includes a tank, pump, nozzles, and tubing. The tank holds the liquid, while the pump delivers it to the nozzles. The nozzles atomize the liquid into a fine mist, which is sprayed onto the crops. Ensure that the spraying system is compatible with the chemicals being used and can handle the desired flow rate. - Battery
Agricultural drones require high-capacity batteries to power the motors, flight controller, and spraying system. Lithium-polymer (LiPo) batteries are commonly used due to their high energy density. The battery capacity should be sufficient to complete the intended spraying operation without requiring frequent recharges. - Transmitter and Receiver
A reliable transmitter and receiver are necessary for controlling the drone remotely. Ensure that the transmitter has a sufficient range and is compatible with the flight controller. - Landing Gear
The landing gear supports the drone during takeoff and landing, protecting the spray system and other components. It should be sturdy enough to handle rough terrain common in agricultural fields. - Telemetry System
A telemetry system allows real-time monitoring of the drone’s status, including battery life, GPS location, and flight conditions. This is essential for safe operation, especially during long flights. - Carbon Fiber Tubes
These tubes are used to reinforce the frame, mount the motors, and secure the spraying system. Carbon fiber is preferred for its strength-to-weight ratio, ensuring the drone remains lightweight yet durable.

Step-by-Step Assembly Process
- Assemble the Frame
Start by assembling the drone’s frame. Attach the carbon fiber tubes to the main body, ensuring they are secure and aligned correctly. Mount the landing gear to the bottom of the frame. - Install the Motors and Propellers
Mount the motors onto the arms of the frame, ensuring they are securely fastened. Attach the propellers to the motors, making sure they are properly aligned with the motor’s rotation direction. - Connect the ESCs
Attach each ESC to its corresponding motor and connect them to the power distribution board. Ensure the connections are secure and that the ESCs are properly configured. - Mount the Flight Controller and GPS Module
Secure the flight controller to the center of the frame, away from the motors and ESCs to avoid interference. Connect the GPS module to the flight controller and place it on a mast to ensure a clear signal. - Install the Spraying System
Attach the tank, pump, and nozzles to the frame, ensuring the weight is evenly distributed. Connect the tubing from the tank to the pump and then to the nozzles. Secure the system to prevent leaks. - Install the Battery and Transmitter
Secure the battery to the frame, ensuring it is balanced to maintain stability during flight. Connect the transmitter and receiver to the flight controller and perform a range check. - Run Pre-Flight Checks
Before your first flight, ensure all connections are secure, and the drone’s systems are functioning correctly. Test the motors, propellers, and spraying system on the ground to ensure everything is operating smoothly. - Test Flight and Calibration
Conduct a test flight to calibrate the flight controller, GPS, and spraying system. Make adjustments as necessary to ensure stable flight and accurate spray application.
Conclusion
Assembling an agricultural spraying drone requires attention to detail and a clear understanding of the components involved. By following this guide, you’ll have a fully functional drone ready to enhance your farming operations. Remember, safety is paramount, so always perform thorough pre-flight checks and operate within the drone’s capabilities. Happy flying!

